Wellington Toffee Recipes: Rooster Booster Brownies
Share
Hello friends!
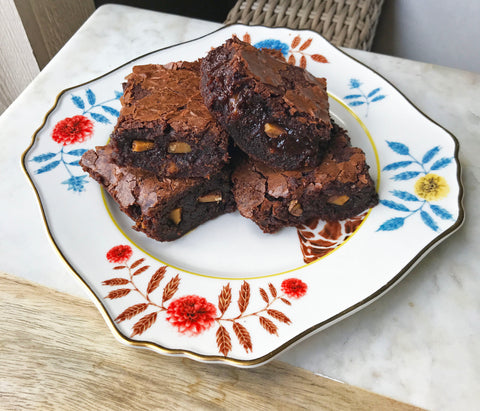
I hope that everyone had a safe and relaxing Memorial Day Weekend. With Summer 2018 officially underway, I thought it only fitting to share a delicious recipe using Wellington Toffee that is sure to be a huge hit at any barbecue or block party – Rooster Booster Brownies!

That’s right. Our toffee isn’t just for snacking… it can be added to virtually any of your baked goods recipes to really kick things up a notch. In this instance, we used a basic boxed brownie mix and added crumbled pieces of our Rooster Booster Coffee Toffee to the center. The result was a pan of pure goodness with a layer of deliciously gooey, coffee flavor.


Here’s the recipe:
Rooster Booster Brownies
Prep Time: 15 minutes | Bake Time: 35-40 minutes | Yield: 9 brownies
You’ll need:
- 9x9 glass or metal pan
- Your favorite boxed brownie mix and all required ingredients (water, eggs, oil)
- ½ tbsp Rooster Booster Coffee Toffee, crushed into small pieces
- 1 tbsp of prepared coffee (optional)
Directions:
- Preheat oven according to brownie mix directions (temperatures and times may vary depending on what type of pan you’re using).
- Grease a 9x9 glass or metal pan.
- Prepare brownie mix according to the instructions on the box, adding 1 tablespoon of prepared coffee (this is optional, but adds a greater depth of flavor to the brownies so we highly recommend it!).
- Crush Rooster Booster Coffee Toffee into small crumbles; to do this, we put some of the toffee into a plastic freezer bag and pounded it with a rolling pin (a small frying pan would also do the trick).
- Pour half of the prepared brownie mix into the bottom of the pan. Then add the crushed toffee in an even layer, followed by the remaining brownie mix.
- Bake according to box instructions, and allow to cool for about 30 minutes once finished. Cut into 9 large squares and serve alone or with vanilla ice cream on top.

We’ll be sharing more recipes using Wellington Toffee all summer long. Be sure to follow along with us on Pinterest to see them all!
Enjoy,
Kevin
